I once thought my walls were beyond saving. Cracks, dents, and small holes made my rooms look old and tired. Then, I found the magic of Drywall Repair. What I assumed would need full wall replacement took only a few tools and some patience. Learning basic drywall patching and DIY drywall repair opened my eyes to how simple wall fixes can be. With the right drywall mud and a little prep, I achieved smooth, even walls again. It was a project that brought back beauty, strength, and pride to my home.
The Hidden Power of Drywall Repair
Why It’s Easier Than You Think
Drywall Repair sounds like a big job, but it’s simpler than most believe. Small holes, bumps, and even cracks can be fixed fast with basic materials. What matters is technique and timing.
With some drywall patching, sanding, and proper wall surface prep, you can fix damage without calling a pro. I used a small hole repair kit, applied fresh drywall mud, and watched the wall transform. This trick proved that most damaged drywall doesn’t need replacing — just a smart repair.
Understanding Drywall Damage
Knowing What You’re Working With
Before I began, I studied my damaged drywall. Not all cracks are the same. Some come from shifting frames, while others form from humidity.
Common wall problems I found:
-
Small holes from nails or décor.
-
Thin cracks near corners.
-
Rough spots from furniture bumps.
Once you know the cause, you can pick the right fix — from drywall patching to a full seamless wall repair. Knowing what you’re facing makes the job smoother and cleaner.
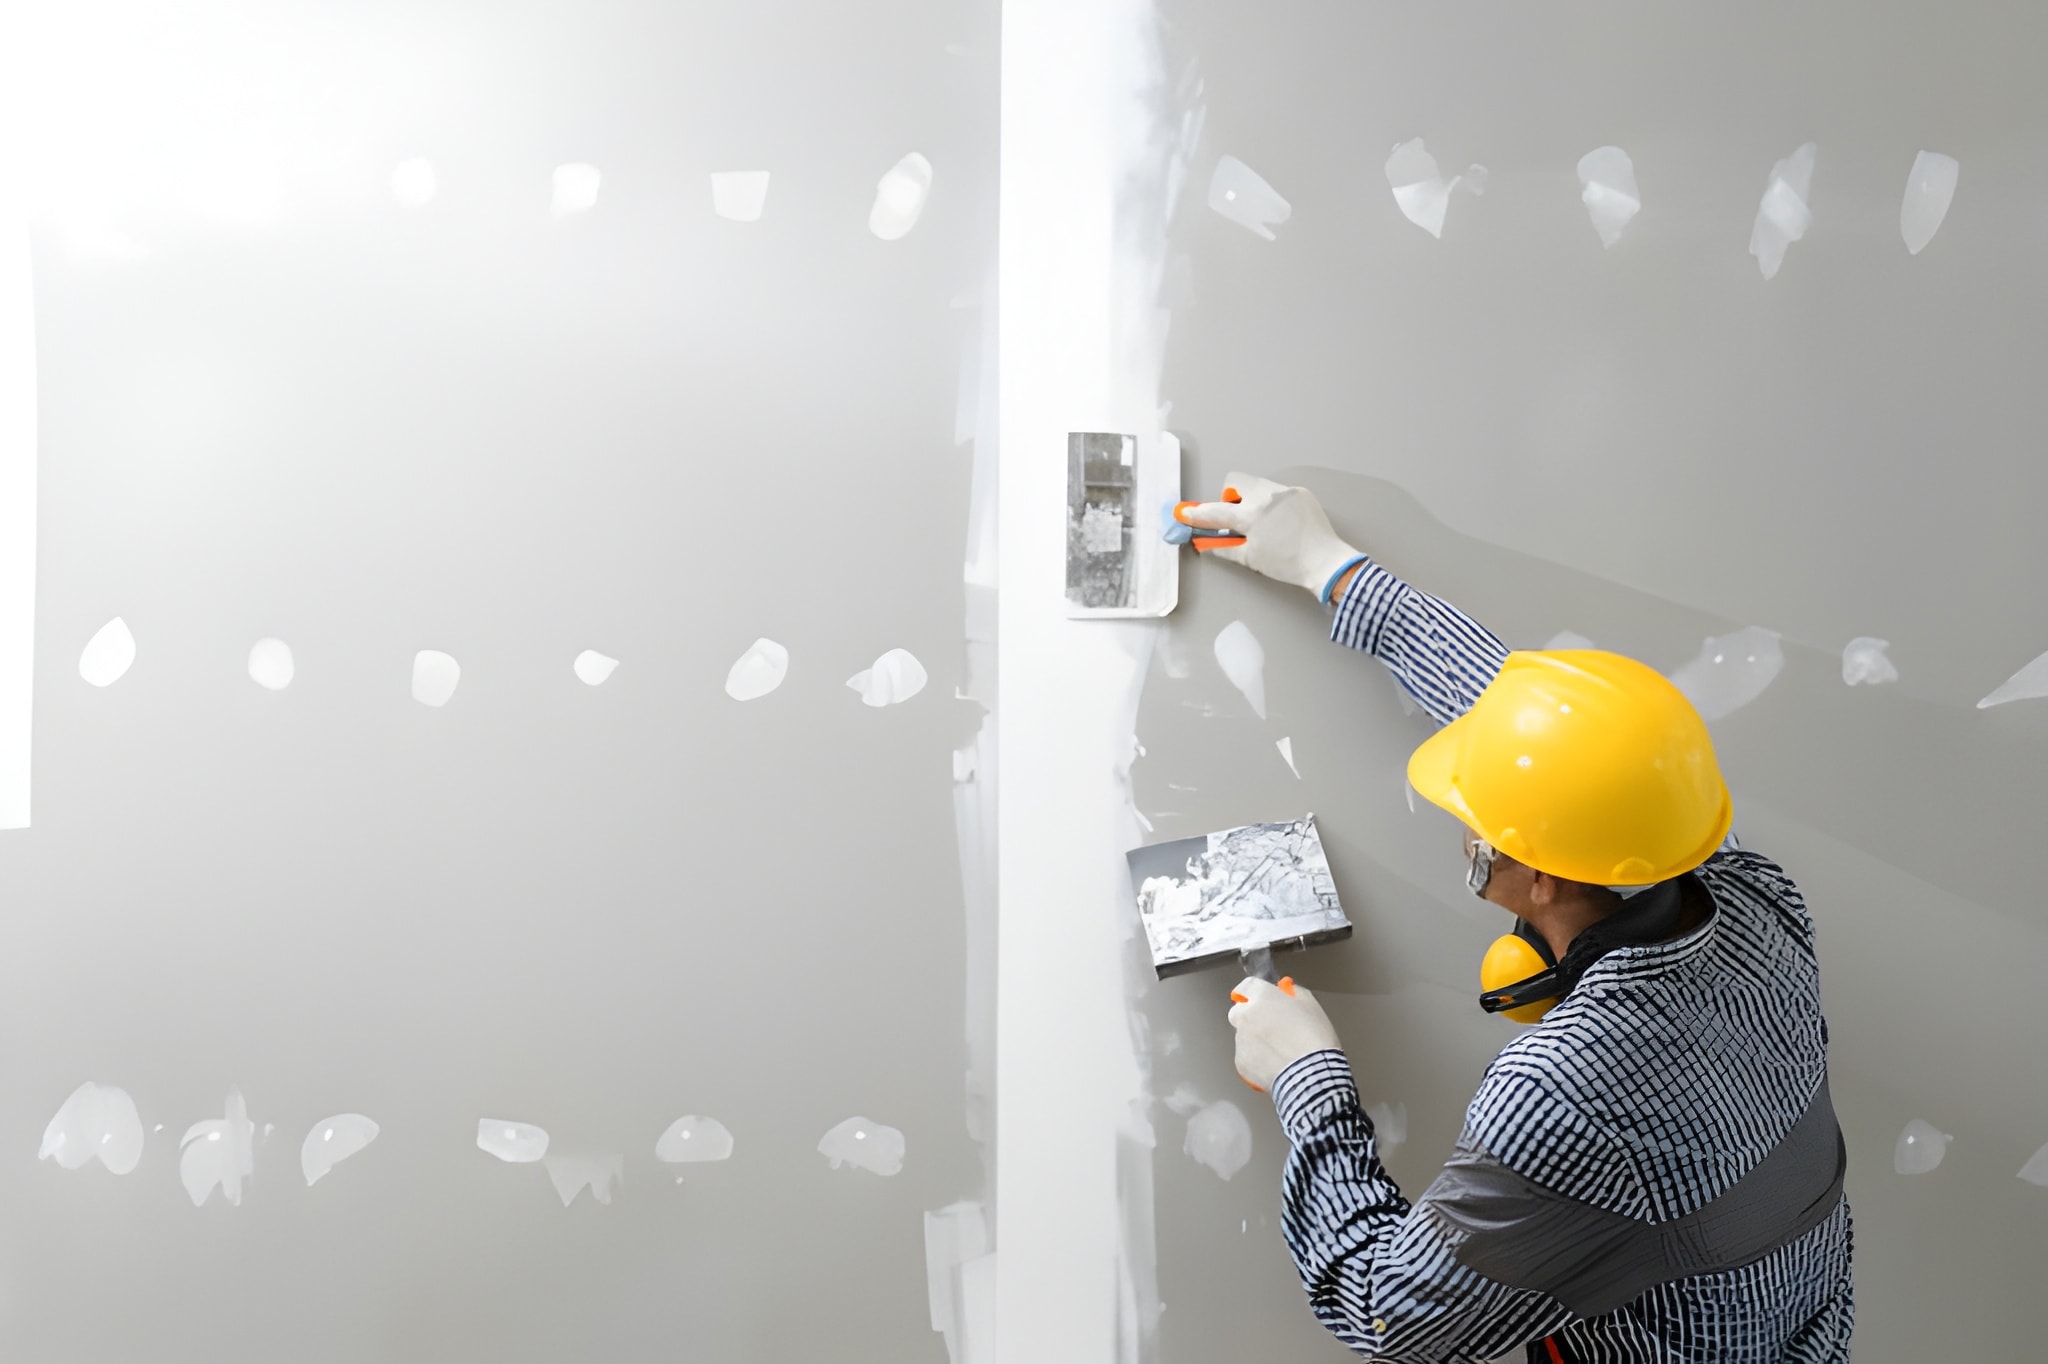
Step One: Wall Surface Prep
The Foundation for a Smooth Finish
Perfect repairs start with strong wall surface prep. I cleaned the area, scraped off loose bits, and dusted every edge. Without this, the drywall mud won’t stick right.
Here’s what worked best for me:
-
Wipe dust and loose paint away.
-
Cut out weak edges around cracks.
-
Use sandpaper to smooth the zone.
-
Wipe clean again before applying mud.
That prep made the patch look like it was never touched. Skipping it only leads to rough, uneven walls later.
The Magic of Drywall Mud
Your Secret Weapon for Flawless Repair
I used to think drywall mud was just thick paint. It’s not. It’s the base of any seamless wall repair. The trick is in layering. Too much mud cracks, too little leaves dents.
Here’s what I did:
-
Spread thin coats with a wide knife.
-
Let each layer dry fully.
-
Sand lightly before the next coat.
The final surface looked smooth and ready for paint. Once I mastered this, my walls looked pro-level, even though I did it myself.
Using a Hole Repair Kit
A Quick Fix for Small Spots
For smaller damage, the hole repair kit became my best friend. It came with mesh, mud, and a small spreader — everything I needed in one pack.
I followed these steps:
-
Place the patch over the hole.
-
Cover with a thin mud layer.
-
Let it dry and sand it smooth.
It worked perfectly for nail spots and tiny cracks. The best part? It cost less than dinner and saved my walls.
DIY Drywall Repair Made Simple
Why You Don’t Need a Contractor Every Time
Once I learned DIY drywall repair, I realized how much money I’d been wasting on small fixes. With a few tools — knife, mud, sandpaper — I could repair most spots myself.
Here’s why DIY works great:
-
It’s low-cost and easy to learn.
-
It gives full control over the finish.
-
It lets you fix things as soon as they appear.
You can skip waiting for professional drywall services and enjoy clean, new walls faster than expected.
Fixing Wall Cracks the Right Way
What I Learned About Long-Term Results
Cracks can return if you fix them wrong. My first wall cracks fix job failed fast because I skipped sanding and rushed mud drying. I learned to go slow and smooth.
For lasting results:
-
Use mesh tape on wider cracks.
-
Apply mud in layers.
-
Sand gently before painting.
This time, the cracks never came back. The key was patience and doing each step with care.
Achieving Seamless Wall Repair
How to Make It Look Like Nothing Happened
The goal is to make the repair invisible — that’s seamless wall repair. After sanding, I used a soft light to check for bumps. Then, one final mud coat evened it out.
Once dry, the wall looked untouched. No marks, no dips, no seams. The trick is smooth strokes and fine sanding. I realized that perfection isn’t about speed — it’s about gentle, steady moves.
Painting After Repair
Bringing the Final Touch to Life
After the wall was ready, it was time for painting after repair. I used primer first to cover the patched area, then painted the full wall for even color.
Pro tips I found:
-
Always prime patched zones.
-
Match the exact paint tone.
-
Use roller strokes that blend in.
The paint brought the repair to life. It made everything look new and fresh again — like the wall had never been cracked.
When to Call Professional Drywall Services
Knowing When You Need Expert Help
While I loved fixing walls myself, some jobs are too big. For wide cracks, mold damage, or full panel breaks, I’d call professional drywall services. They have advanced tools and know how to match textures perfectly.
Experts can handle:
-
Deep water or fire damage.
-
Large wall holes.
-
Structural issues causing cracks.
Calling pros saves time and ensures a lasting finish. For big repairs, their skill is worth every penny.My Favorite Drywall Repair Trick
The Game-Changer That Saved My Walls
The real secret? Layer and sand slowly. That’s it. I used thin layers of drywall mud, dried fully, and sanded smooth. This created a pro-level surface every time.
It’s not about rushing; it’s about rhythm. Once I found that balance, I stopped fearing cracks or holes. I knew I could fix them anytime — fast, cheap, and clean.
Ready to Fix Your Walls Today?
If you’ve been staring at cracks or dents, don’t wait. Grab a hole repair kit or a bit of drywall mud and start your DIY drywall repair today. With the right approach, your walls can look smooth again.
For top-quality help or complex jobs, visit Drywall Repair and explore expert professional drywall services that deliver flawless results every time.
Conclusion
I used to dread looking at my damaged drywall. Now, I see clean, fresh walls that tell a story of learning and care. The right drywall patching, wall surface prep, and smart painting after repair brought my home back to life.
The best part? I did it myself — and you can too. Whether you’re fixing small cracks or giving your walls a new start, a bit of patience and skill will make you love your home again.