In surgical practice, some instruments may appear simple, but their impact on precision, patient safety, and surgical outcomes is profound. The periosteal elevator is one such tool. Whether in orthopedic, dental, ENT, or maxillofacial surgery, it plays a vital role in exposing bone surfaces while protecting delicate soft tissues. For medical students beginning their journey into the world of surgical instruments, understanding how a periosteal elevator works is essential.
This comprehensive guide explains the structure, function, mechanism, and clinical use of periosteal elevators, along with insights into how trusted manufacturers like Artema Medical design high-quality instruments for modern surgical needs.
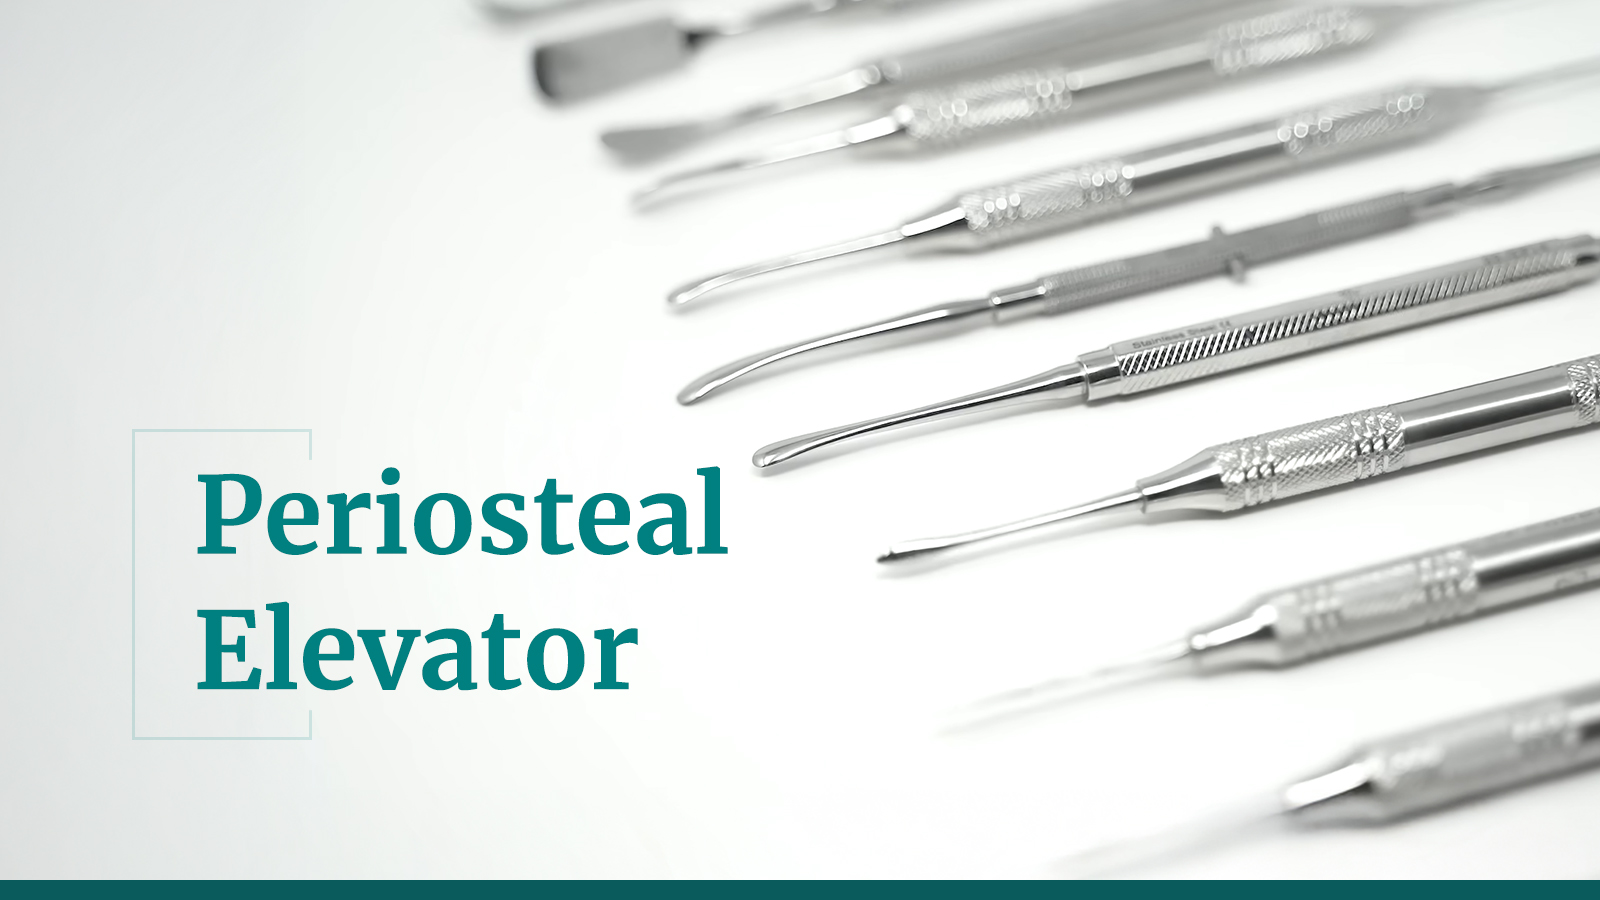
What Is a Periosteal Elevator?
A periosteal elevator is a surgical instrument used to lift, separate, and reflect the periosteum—the thin, fibrous membrane that covers the surface of bones. It also helps to gently retract soft tissues and expose bone during procedures.
The basic design features:
- A strong handle for grip and control
- A working end (or two ends) that may be sharp, semi-sharp, or rounded
- A flat or curved blade used to dissect or reflect tissues
This instrument is commonly used in:
- Orthopedic surgeries
- Dental and oral surgeries
- ENT procedures
- Craniofacial reconstruction
- Neurosurgery
Because of its versatility, the periosteal elevator is one of the most essential tools found in surgical trays.
Understanding the Anatomy of a Periosteal Elevator
Although designs vary by model, most periosteal elevators share similar structural components. Medical students should familiarize themselves with these parts:
1. Handle
The handle is usually designed with:
- A textured or ergonomic grip
- A lightweight yet strong body
- Balanced weight distribution
This ensures comfort and precision, especially during long surgeries.
2. Blade or Working End
The blade is the part used to detach and lift tissues. It may be:
- Sharp-tipped for initiating tissue entry
- Rounded for gentle reflection
- Wide or narrow depending on the type
High-quality manufacturers like Artema Medical ensure blades are polished, smooth, and free from imperfections that might damage tissue.
3. Single or Double Ends
Some periosteal elevators have:
- A single working end (common in orthopedic elevators)
- Two different blades on each side (like the Freer elevator)
This allows the surgeon to switch functions quickly during procedures.
How a Periosteal Elevator Works: Step-by-Step
To fully understand the instrument’s function, let’s break down its operation:
Step 1: Positioning the Elevator
The surgeon starts by placing the sharp or semi-sharp tip of the elevator at the edge of the periosteum or mucoperiosteal flap. Proper positioning is crucial to avoid tearing tissues.
Step 2: Initiating the Elevation
The sharp end gently inserts between:
- The periosteum and bone
- Soft tissue and underlying structures
Light pressure combined with controlled movement helps initiate separation.
Step 3: Lifting the Periosteum
Once inserted, the surgeon uses a prying or sweeping motion to elevate the periosteum. The direction and angle depend on:
- Bone curvature
- Tissue thickness
- Surgical access
A properly designed elevator glides smoothly without causing trauma.
Step 4: Reflecting Soft Tissue
After initiating separation, the surgeon switches to the rounded or broad blade for reflection. This helps to:
- Retract soft tissue
- Expose bone
- Create a clear working field
The smooth surface of quality elevators, such as those from Artema Medical, ensures gentle tissue handling.
Step 5: Maintaining Access
Once elevated, the periosteum remains reflected using the instrument or additional retractors. This:
- Keeps bone visible
- Helps guide drills, plates, or implants
- Prevents soft tissue interference
In dental surgery, for example, maintaining a clean field is essential for implant placement.
Biomechanics Behind Periosteal Elevators
Medical students should also understand the mechanical principles behind the instrument:
1. Leverage
The elevator acts as a lever, allowing surgeons to lift tissue with minimal force.
2. Sharp-Tip Penetration
The initial sharp edge provides focused pressure, enabling precise tissue entry.
3. Blade Curvature
Curved blades follow bone contours, reducing tissue resistance and preventing tearing.
4. Distributed Pressure
Rounded blades distribute force evenly across the tissue, ensuring a smooth elevation.
These design principles explain why different models exist for different surgeries.
Types of Periosteal Elevators and Their Mechanisms
Understanding each type helps medical students learn when and why they are used:
1. Freer Elevator
One of the most versatile instruments with double-ended design.
- Sharp end → Starts elevation
- Rounded end → Reflects soft tissue
Commonly used in ENT, dental, and orthopedic procedures.
2. Molt Elevator (e.g., Molt 9)
Primarily used in dentistry:
- Thin, sharp tips glide under gum flaps
- Ideal for implant and periodontal surgeries
3. Prichard Elevator
Designed for periodontal surgeries:
- Broad blade prevents flap tearing
- Suitable for full-thickness flap elevation
4. Cottle Elevator
Used in delicate nasal surgeries:
- Narrow tip for fine dissection
- Ideal for septoplasty and sinus procedures
5. Howarth Elevator
Useful in facial plastic surgery:
- Sharp tip → Entry
- Broad blade → Reflection
6. Key Elevator
A favorite in orthopedics:
- Strong, wide blade
- Used for muscle and tissue elevation over large bone surfaces
Each model operates on the same basic mechanism but with different blade shapes to match surgical needs.
Why Periosteal Elevators Are Essential in Surgery
Understanding why the tool is so valued helps students appreciate its role:
✔ Protects soft tissues from trauma
✔ Provides clear bone exposure
✔ Improves surgical precision
✔ Helps maintain a clean surgical field
✔ Essential in both minor and major bone surgeries
Atraumatic elevation is a cornerstone of surgical technique, and the periosteal elevator makes this possible.
Tips for Medical Students Using a Periosteal Elevator
Here are some important points to remember:
1. Use minimal force
Let the sharp edge and smooth blade do the work.
2. Follow bone contours
Never push blindly into tissue.
3. Maintain stability
Finger rests help improve accuracy.
4. Keep instruments properly sterilized
High-quality stainless steel instruments, like those from Artema Medical, withstand repeated sterilization cycles.
5. Observe experienced surgeons
Technique improves with practice and observation.
Artema Medical: Precision-Made Periosteal Elevators for Training and Practice
For medical students and professionals, using a well-crafted instrument can make learning easier. Artema Medical is known for producing high-quality periosteal elevators that feature:
- Durable stainless steel
- Ergonomic designs
- Polished, atraumatic blades
- Reliable sharpness
- Multiple models for specialty use
Their commitment to surgical precision ensures that students and surgeons can practice and perform procedures with confidence.
Conclusion
The periosteal elevator may appear simple, but its role in surgery is indispensable. For medical students beginning their surgical education, understanding how it works, why it works, and when to use it is a crucial step toward mastering surgical technique. By gently lifting and reflecting tissues, the instrument helps maintain safety, precision, and visibility—key elements of successful surgical outcomes.
With reliable manufacturers like Artema Medical producing world-class periosteal elevators, students and surgeons can depend on instruments designed for accuracy, durability, and optimal performance.